

Why Knowing Your Acrylic Paints Can Change the Way You Create
Ever felt stuck halfway through a painting because your colors didn’t blend quite right or the finish wasn’t what you expected? You’re not alone! The secret to solving these frustrations might just lie in understanding the types and grades of acrylic paints you’re using. Knowing this can elevate your art from “meh” to “WOW” with just a few tweaks to your materials.
Let’s dive into the world of acrylic paints, discover what makes them tick, and explore how choosing the right type can completely transform your creative process.
1. Student vs. Professional Grade: What’s the Difference?
The first thing you need to know is that acrylic paints come in two main grades: student and professional.
Student-grade paints are affordable and great for beginners. However, they often have less pigment, meaning the colors might not be as vibrant or blendable.
Professional-grade paints, on the other hand, are highly pigmented, more vibrant, and offer better coverage.
As artist Justin Harless puts it in The DIY Diaries, “Student-grade acrylics are perfectly fine for beginners or those experimenting with their style, but once you’re ready to commit to your craft, professional-grade paint can make all the difference.”
💡 Practical Tip:
If you’re starting out, try mixing student and professional-grade paints. Use student paints for underpainting and professional ones for final layers or highlights.
2. Paint Body: Heavy, Soft, or Fluid?
Not all acrylic paints are created equal when it comes to texture and flow. Here’s a quick breakdown:
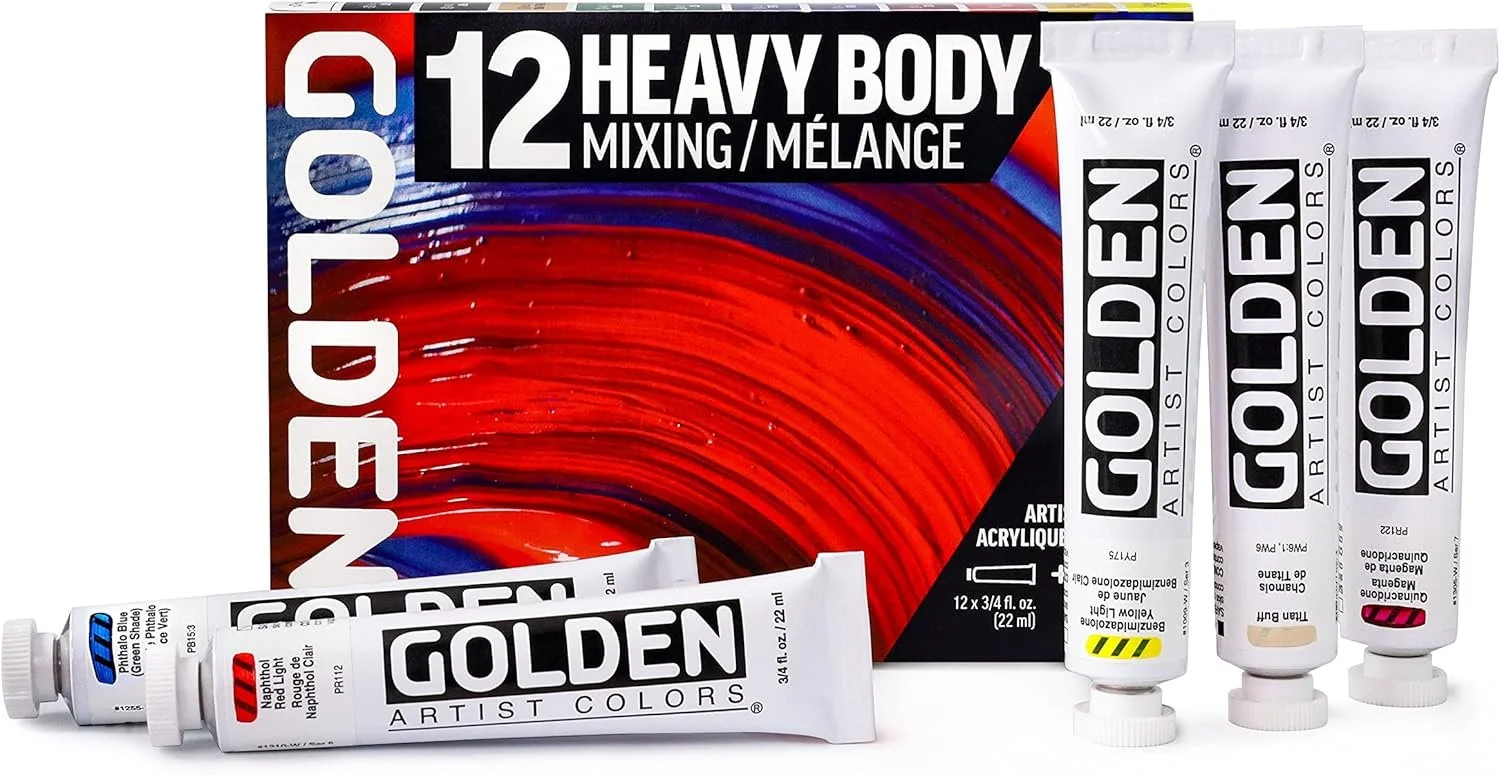
Heavy Body: Thick, buttery consistency, perfect for bold, textured strokes or impasto techniques.
Soft Body: Creamier and smoother, great for detailed work or blending.
Fluid: Thin and runny, ideal for washes, drips, and fine lines.
💡 Practical Tip: If you’re trying something new, experiment with all three! You might discover that heavy body works wonders for dramatic skies, while fluid paints are your go-to for abstract backgrounds.
3. Specialty Acrylics: Metallics, Iridescents, and More
Sometimes, a little sparkle or shimmer is all you need to bring your artwork to life. Specialty acrylics like metallics, iridescents, and neon paints are perfect for adding that extra flair.
💡 Practical Tip: Use metallic paints for highlights or focal points to draw the viewer’s eye. Iridescent paints can add depth to abstract pieces, while neon paints are perfect for bold, modern art.

4. Choosing the Right Tools for Your Paints
The brushes, palette knives, and surfaces you use can also impact how your paints perform. A thick, heavy body paint might need a stiff brush to handle its texture, while fluid acrylics can glide effortlessly with a softer brush.
💡 Practical Tip: Always match your tools to your paint. A good set of brushes and a proper palette can make your creative process smoother and more enjoyable.

5. Experiment and Play!
At the end of the day, painting is all about having fun and expressing yourself. Don’t be afraid to mix and match types of paint, explore new techniques, and make mistakes. That’s how you’ll learn what works best for you!
Affiliate Disclaimer
This blog contains affiliate links. If you purchase a product through these links, I may earn a small commission at no extra cost to you. It’s a great way to support my blog while exploring products that can enhance your art journey.